
Nothing derails a meeting faster than fumbling for the share button while everyone wait. Whether you’ve presenting a pitch deck walking a client through a demo or troubleshooting a bug with a coworkers. Knowing how to share screen on Teams smoothly. It makes you look prepared and confident.
This guide breaks down every method, from desktop to mobile, plus the small settings that trip people up most. You’ll also find comparison tables, troubleshooting fixes and tips that go beyond the basics Microsoft’s own help pages cover.
Getting Started With Screen Sharing on Teams
Microsoft Teams gives you several ways to share your content during a call and picking the right one matters more than most people realizing. Sharing your whole desktop exposes every open tab and notifications. While sharing a single window keeps things tidy and private.
Before you jump into a meeting close anything you don’t want visible. Personal chats, draft emails and unrelated browser tabs have a ways of popping up at the worst possible moment. For teams that rely heavily on digital communication, choosing the right messaging platform can also make collaboration easier.
Sharing Your Screen On Teams Desktop For Windows And Mac
Here has the process for the desktop app. Which has what most professionals use day to day:
- Join or start your Teams meetings and wait for the meeting controls to which appear at the top of the window.
- Click the Share icon shown as an upward arrow inside a box.
- Choose what you want to share from the tray that open.
- Toggle “Include computer sound” if your content has audio, like a video clip.
- Confirm your selection and watch for the red outline that confirms sharing is live.
- Click “Stop sharing” in the meeting controls once you’re finished.
Mac users sometimes hit a permissions wall the first time they try this. If Teams won’t share your screen open System Preferences, go to Security & Privacy and grant Teams screen recording access. A quick app restart usually finishes the job.
Sharing Options Compared Side By Side
Not every sharing method fits every situation. Here’s how the main options stack up:
| Sharing Option | Best For | Privacy Level | Interactive |
| Desktop/Screen | Multitasking across apps | Low | No |
| Window | Single app or document | High | No |
| PowerPoint Live | Slide presentations | High | Yes |
| Whiteboard | Brainstorming and sketching | High | Yes |
Picking Window instead of Desktop has one of the simple way to avoid an embarrassing notification popping up mid presentation.
Sharing Your Screen In A Browser Without The App
If you’re running Teams through Chrome or Edge rather than the desktop app, the steps shift slightly. After clicking the share button, you’ll select “Screen, window or tab” from your browser’s own sharing prompt rather than Teams’ native tray.
Chrome and Edge both support this fully but Firefox and Safari have limited or inconsistent screen sharing support in Teams. Stick with Chrome or Edge for a dependable experience, especially for client facing calls.
Sharing PowerPoint Presentations the Smart Way
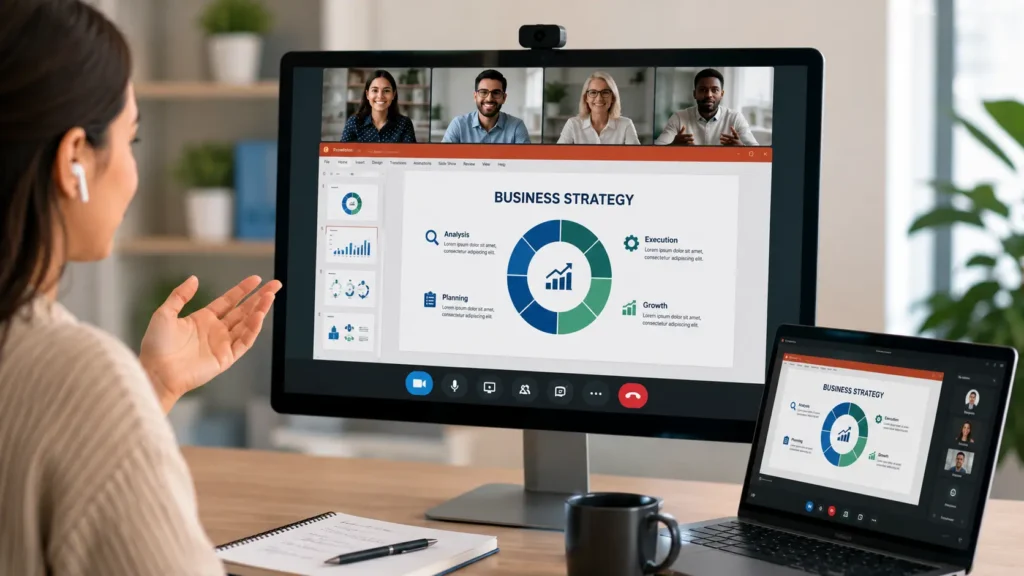
PowerPoint Live deserves its own mentions because it works differently than a standard screen share. Instead of just displaying your slides, it lets participants scroll ahead at their own pace and view your speaker notes if you choose to share them.
This makes it a stronger option than sharing your PowerPoint window directly, particularly for training sessions or asynchronous friendly meetings where attendees might want to review a slide again.
Quick Steps for PowerPoint Live
- Click Share in the meeting controls.
- Select the PowerPoint file from your recent list or browse OneDrive.
- Toggle computer sound on if your slides include embedded video or audio.
- Present as normal, using arrow keys or the on screen controls to advance slides.
Using Microsoft Whiteboard During A Share
Whiteboard shines in brainstorming sessions where ideas need to be sketched out live nor than presented from a slide deck. Once shared every participant with edit permissions can draw, type and add sticky notes in real time.
After the meeting wraps, the whiteboard saves automatically to the meeting chat. So nobody has to scrambled screenshot it before the call ends.
Sharing Your Screen On Mobile For iOS And Android
Screen sharing on a phone works but it’s limited than the desktop experience. Open the meeting, tap the three dots for more options, then tap Share. You can share your entire mobile screen or select specific photos and videos stored on your device.
A red border or system banner will confirm sharing is active, and you’ll tap “Stop Presenting” back in the Teams app to end it. Mobile sharing works best for quick reviews rather than detailed technical walkthroughs, given the smaller screen size.
Giving and Taking Back Control
Teams lets you hand control of your shared screen to another participant. Which is genuinely useful for remote troubleshooting or collaborative editing. Hover near the top of the shared screen to reveal the toolbar. Then select Give Control and choose a name.
The other person have now click and type on your shared screen as if it were their own. Select “Take back control” whenever you want to reclaim it and nothing changes on their end until you do.
Recording Your Screen Share For Later Viewing
A screen share doesn’t have to disappear once the meeting ends. Starting a meeting recording before you share captures everything on screen alongside audio, which is useful for training sessions, client walkthroughs or team members who couldn’t attend live.
Click “More actions” in the meeting controls, select “Start recording” and Teams saves the file to the meeting chat automatically once you stop. Recordings typically process within a few minutes and remain accessible through the chat or your organization’s cloud storage, depending on your admin settings.
This habit turns a single live presentation into a reusable resource, saving you from repeating the same walkthrough for every new hire or absent teammate.
Desktop Versus Browser Versus Mobile Sharing
Choosing the right platform for the moment can prevent a surprising number of last minute headaches.
| Platform | Sharing Reliability | Best Use Case |
| Desktop app | Highest, full feature access | Client calls, presentations, demos |
| Browser (Chrome or Edge) | High, nearly full feature parity | Shared or restricted computers |
| Mobile app | Moderate, limited controls | Quick photo or screen reviews |
Sticking with the desktop app whenever possible avoids most of the friction that browser and mobile sharing can introduce.
Common Screen Sharing Problems and Fixes
Most screen sharing issues on Teams come down to a handful of repeat offenders:
No audio coming through: Check that “Include computer sound” has toggled on before you started sharing not after.
Screen freezing or lagging: Close background apps. Which eating up CPU or bandwidth and consider lowering your display resolution temporarily.
Can’t share at all: Confirm your organization’s IT admin hasn’t restricted screen sharing permissions at the account level.
Linux limitations: Some Linux users won’t see the red sharing border or the option to share individual windows. Switching to X11 session instead of Wayland resolves this.
Best Practices for Professional Screen Sharing

A clean well managed screen share signals professionalism. Just as much as your actual content does. A few habits make a noticeable differences:
Close notifications before you start. Since a personal message popping up mid meeting is distracting at best and awkward at worst. Pick Window over Desktop whenever you only need to show one thing, and keep your Teams app updated to avoid last minute bugs. Finally, narrate what you’re doing as you share. Since participants can’t always tell what you’re clicking or why.
Final Thoughts
Once you know how to share screen on Teams across desktop, browser and mobile. In meetings become far smoother and more professional. Match the sharing method to your content. Whether that has a single window for focus or Whiteboard for live collaboration. You’ll avoid the most common hiccups altogether. A little preparation before you click Share saves everyone time. It keeps your presentations running without a hitch.
FAQs
How to share screen on Teams on laptop?
Open Teams on your laptop and join your meeting. Then click the Share icon in the meeting controls. Choose Screen, Window or PowerPoint Live from the tray that appears. A red border confirms sharing is active and you can stop anytime from the same controls.
How to share screen on Teams on PC?
Click the Share button in the meeting toolbar once you’ve in a call. Select whether to share your entire desktop a specific app window or a PowerPoint file. Toggle “Include computer sound” first if your content has audio, then confirm your choice.
How to give access to share screen in a Teams meeting?
Hover near the top of your shared screen to reveal the sharing toolbar, then click “Give Control.” Select the participant’s name from the list, and they can now click and type on your screen. Click “Take back control” whenever you want to end their access.
How to share screen on Teams Mac?
Click Share in the meeting controls and pick what you want to display. If sharing doesn’t start, open System Preferences. Go to Security & Privacy and grant Teams screen recording permission. Restart Teams afterward for the change to take effects.